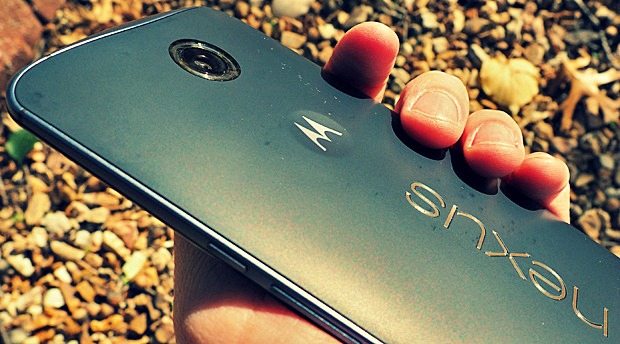
Nexus 6 is one of the finest devices in the market. With just 184 g weight and screen size of 5.96 inches, it is offering you 13 MP camera and secondary camera of 2 MP. With an extra ordinary resolution of 1440 x 2560 pixels it gives you a battery life of 70 hour. Nexus 6 battery gives you up to 24 hours talk time and up to 330 hours on stand-by which decreases to 8 hours on web browsing. That is simply not enough battery life time. It is supported by a Quad-core 2.7 GHz with 3 GB RAM. In this guide, we will deal with a method that allows to decrease Nexus 6 resolution to increase battery life and performance.
It is overall a fine device but still many users have an issues with its battery life. Obviously, a smartphone with 493 pixels per inch (ppi) will drain your battery. There are also other issues like some apps and games have 1080p as their maximum resolution. To run those apps and games, you have to use a smartphone with a resolution of 1080 pixels or you can decrease Nexus 6 resolution from 1440 x 2560 pixels to 1080 x 1920 pixels.
Decreasing your Nexus 6 resolution will not only help you to run apps or games of 1080 p resolution but it will also increase the battery life. Performance of your Nexus 6 will also boost by lowering the resolution. Here, we are going to explain how to increase battery life by decreasing Nexus 6 resolution up to 1080 x 1920 p.
To start the process, you must ensure that you have a rooted Nexus device. If your device is not meeting this requirement then you must first root the device so that you can follow the rest of the steps.
Decrease Nexus 6 resolution
Once you are done with rooting your Nexus device then you can follow the steps given below.
Step 1:
You need to type some terminal commands. For that, Terminal Emulator app is required. This app is available on Google Play Store. You can search this app on Google Play Store or can download this app by simply following the link given below.
Step 2: Once Terminal Emulator app is downloaded you need to execute some commands.
Note: Commands must be entered accurately in order to get desired results.
- First Command:
- su
Type “su” in Terminal Emulator app and then hit enter. You will be prompted to grant access to Superuser. Tap “Grant”.
- su
- Second Command:
- wm size 1080×1920
Type “wm size 1080×1920” and hit enter. After this command, the visual effects will get larger than normal. This is because of the change in your device’s display resolution to 1080 p. Your device’s DPI value will not be affected by this command.
- wm size 1080×1920
- Third Command:
- wm density 420
Type “wm density 420” and then hit enter. After the execution of this command, your device’s DPI value will be changed so the visual effects will be back to their normal size. This command will not change the size of all visual assets. To resize the rest of the assets, we will use the next command.
- wm density 420
-
Fourth Command
- stop && start
Type “stop && start” and then hit enter. This command, as described earlier, will re-size the rest of the assets. As you enter this command, your device will immediately reboot so that the DPI value can be reset.
- stop && start
Step 3: (Optional) After completing all of the above steps, now your device’s resolution is 1080 x 1920 p. As a naked eye cannot notice the difference so you should check whether you are successful in changing the resolution or not. To confirm, download “Display Tester” app from Google Play Store. Go to Google Play Store and search for this app or click on the link below.
Once you download this app, tap on the app to open. The app will display your device resolution. The app should display 1080 x 1920 as a device resolution. If not, there must be some mistake while following the steps. Go through the steps again and confirm again.
If you want to increase your resolution up to 1440 x 2560 then you can follow the same steps as mentioned above . The only difference in commands will be in the second command of step 2. The rest of the process is same. Enter the commands listed below.
- su
- wm size 1440×2560
- wm density 560
- stop && start
These simple steps will help you decrease Nexus 6 resolution which will increase the battery life and boost your device performance. Share your successful experience with us.
If you are facing any problem in decreasing the resolution by following the above mentioned methods, then feel free to ask for our help in the comments. If you know any other method then let us know.


