

So you’ve bought your shiny new Huawei phone, booted it up, and installed your favorite app store and apps, only to discover a problem. Unfortunately, many apps don’t have push notifications on Huawei phones.
Today, I’ll show you how to install MicroG, a remarkable open-source project that allows you to access the Google Could Messaging platform and enable push notifications on Huawei devices.
Before starting, here are a couple of things to keep in mind:
- This method doesn’t let you use Google Dependent apps or apps that require SafetyNet (namely Pokemon Go);
- This will only work if you haven’t installed any other methods, namely the ones shown on YouTube.
- This method doesn’t let you log into apps via Google Account.
- It will give you access to Maps API v2, which means that Location detection will be way faster; for my device, it took around 40 seconds to detect my location before; now, it takes about 5 seconds.
- You will need to reinstall most apps to get notifications to work, but they should start working perfectly after you install them again.
Now let’s get into the guide to get notifications on Huawei Phone:
First, we have to download the MicroG files: you need to download a custom MicroG core for Huawei phones and a couple of other apps from the official MicroG page.
- Go to mega and download the custom MicroG Core by EloyGomezTV.
- (Just like the original MicroG project, it is also open-source and perfectly safe to use.)
- Go to the MicroG Official Downloads page, scroll down, and download the following apps:
- Services Framework Proxy — Store (FakeStore release) — DroidGuard Helper

- Services Framework Proxy — Store (FakeStore release) — DroidGuard Helper
- Now you should install all of the apps, but don’t open any of them for now.
- If it’s your first time installing a .apk file, the device will prompt you to allow the installation.
- Click “Don’t ask me again” and “Allow.” All you need to do after is click on “Install.”
- Now you need to open the MicroG Settings app.
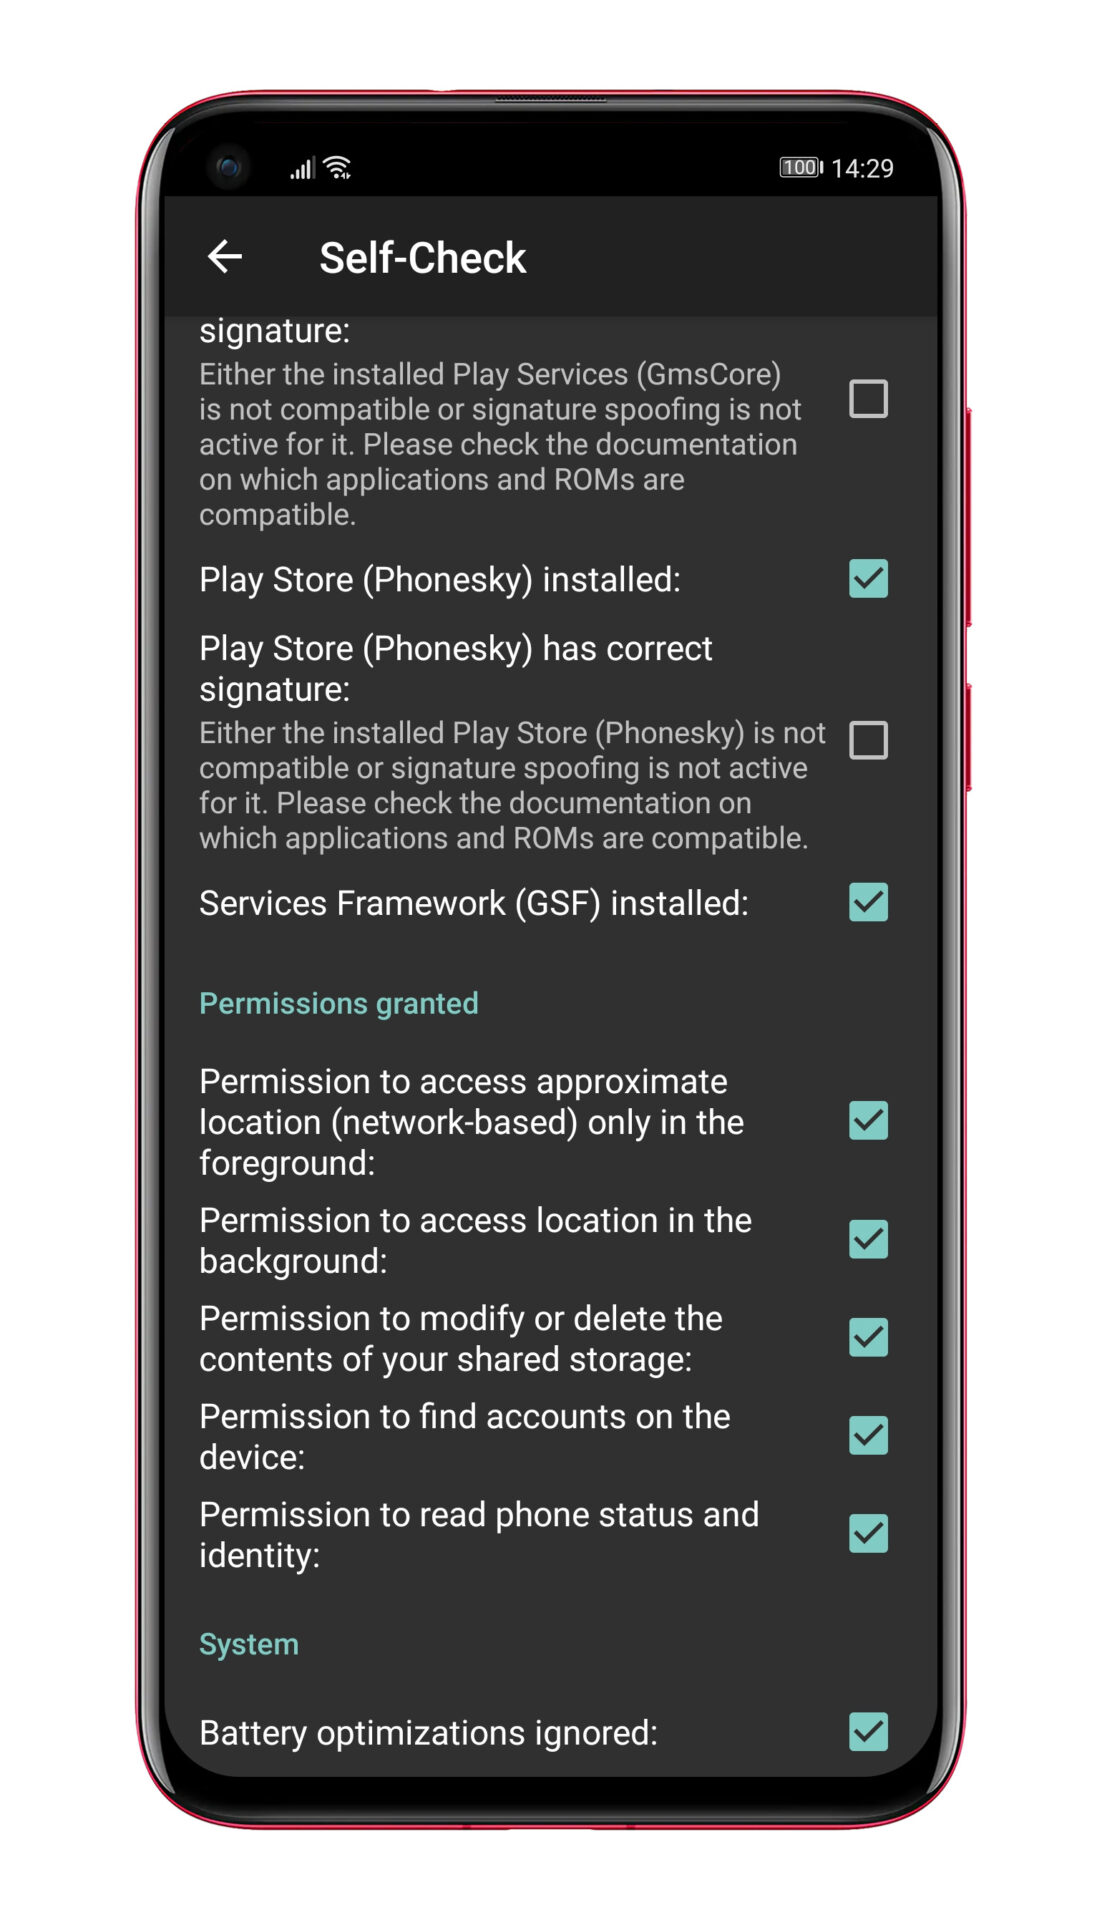
- Click on Self-Check.
- Swipe to the bottom, and check all boxes in the “Permissions granted” tab.
- Remember that some boxes (system spoofs) won’t get checked because we don’t have root, but it will still work perfectly fine.
- If done correctly, it should look like this:
- Add a Google Account. Click on add account, type your credentials and follow the required steps.
- Your account doesn’t matter since you can’t log in to apps or sync any data.
- Your account doesn’t matter since you can’t log in to apps or sync any data.
- Go to Google Device Registration and turn it on, do the same for Cloud Messaging and Safety Net.
- You are almost done; restart your phone now.
- Open MicroG Settings and go to Google Cloud Messaging.

- Check if it says connected or disconnected. If it says connected, congratulations, you’ve successfully installed MicroG.
- Now all you need to do is reinstall your apps, and you will start to see them appear under the Cloud Messaging menu, meaning that notifications are currently working!
- Before leaving, don’t forget to check the end of the guide for a couple of valuable notes.
- If it said Disconnected, then you’re not done yet. Proceed to the next step.
- Open your phone app, and type *#*#2432546#*#*
- Open MicroG settings and check if it says connected; if it doesn’t say anything, wait a couple of minutes, and check again.


Suppose it says disconnected. Try turning the Could Messaging toggle off and on again, wait a couple of minutes, and check again. It should say connected.
If it still doesn’t connect, restart your phone, type the code again, and turn the toggle off and on again. It might take a couple of tries. Afterward, you will receive push notifications on your Huawei phone.
————-> You are done. Great job!
Additional notes:
Do not update the MicroG app. Since we use a custom Core, updating it will revert it to the original microG.
While installing WhatsApp, a GMS error might pop up. To skip it, don’t click the
“Ok” button, just click a blank spot on the screen, which will bypass the check.
If your phone isn’t a P40 model, it might have PowerGenie installed, which ultimately disrupts push notifications on Huawei phone by force closing apps in the background. Follow this guide to stop apps from getting killed: —-> DontKillMyApp Website.
If you still need to use apps like Google Keep or any other app requiring GMS to work, I recommend following the VMOS guide to install a virtual machine on your phone. There will be no notifications for those apps, and you still can’t bypass SafetyNet with it, but it’s great for that one app that you want to use, but it just doesn’t work without GMS. —-> VMOS Guide


")


