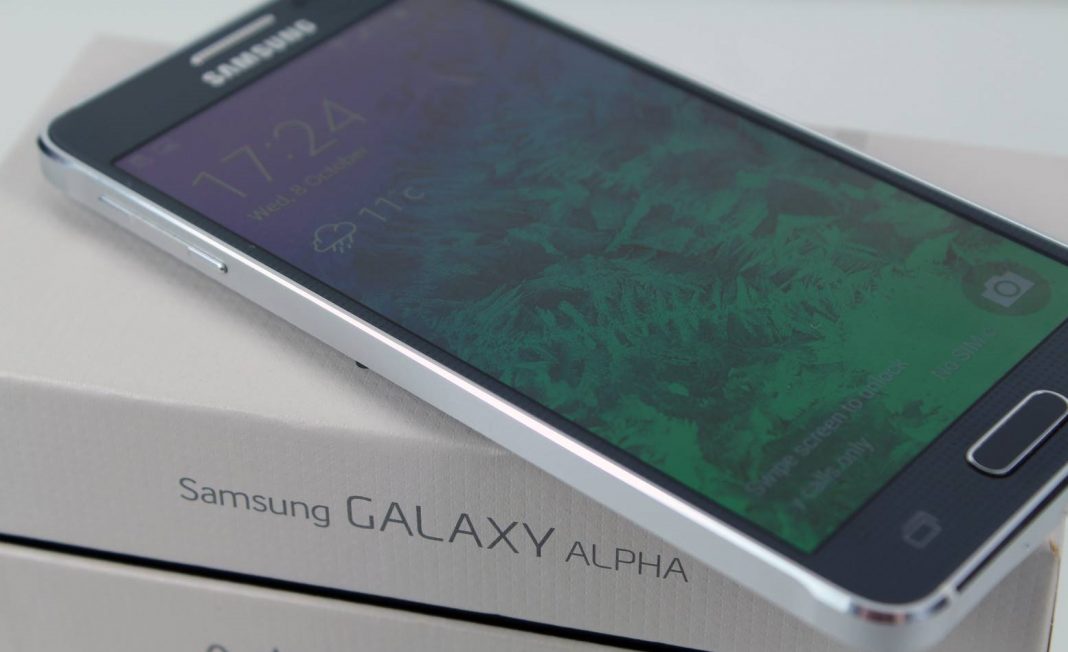
Samsung Galaxy Alpha is one of the most stylish phones ever released by Samsung. It has a sleek design. The edges and back are merged in a way that makes it straightforward to hold this Galaxy Alpha in hand. If you recently bought this phone and you’re looking for a method to root Galaxy Alpha. I have a straightforward guide to help you root your phone.
The method I am covering in this guide works for every model of Samsung Alpha. In this method, you must flash the CF-AutoRoot file on your phone using ODIN if you have never performed this procedure before. Don’t worry; I will guide you step by step.
Rooting gives you a lot more freedom to tweak with your phone. You can access system features that you can not access with an unrooted device. Following are some advantages of rooting.
- You can overclock your phone’s processor for better performance.
- You can remove system apps that consume your phone’s storage and processing memory.
- Root allows you to flash custom ROMs and recoveries.
- Perform a NANDROID Backup.
- There are several other tweaks that can be helpful to enhance performance and battery life with your phone. You can maintain total privacy using a rooted phone.
How to Root Galaxy Alpha. A complete guide for Beginners:
Before we move to the directory, there are some prerequisites and downloads that you will need on your phone and PC before you move forward.
Prerequisites:
- Make sure your phone is charged over 50%.
- Disable KIES on your PC.
- Enable USB Debugging: Goto Settings-> Select About Phone -> Locate Build number and tap it seven times. Return to the settings page and locate Developers Options -> Enable USB debugging.
- Although this guide won’t delete any data on your phone, to be on the safe side. Back up all of your data using this guide.
Required downloadables to root Galaxy Alpha:
- Download and Install Samsung USB drivers on your Computer. These drivers are necessary for your Computer to recognise your phone. (go to the link; just under the date and main heading, you will find the link to download the drivers. It’s a zip file.)
- Download ODIN V3.13.1. And unzip it on your Computer.
- Lastly, Download the CF-AutoRoot file from here. And unzip it on your PC. (This file is for SM-G850F)
- Goto Settings -> About device and make sure you have the same model. Suppose you have a different model. Goto CF-AutoRoot directory. Download the CF-AutoRoot file according to your phone model.
Root Galaxy Alpha Step-to-Step Guide below:
First of all, make sure you are with me in this guide. And you have not skipped any step from the above precautions and downloads. Suppose you are having any issues. You can contact me in the comments or contact us form. I will get back to you and help you personally as soon as possible. Rooting is a delicate thing. It would be best if you were not taking any chances.
- Now, please Turn off your Galaxy Alpha and put it in Download Mode.
- Press the volume down + home button, and power button simultaneously.
- Release the button when you see the warning.
- Press the volume up button to continue.
- The second step is to open ODIN on your PC.
- Now, connect your Samsung Galaxy Alpha to your PC using a data cable. If ID: COM on ODIN turns blue. It means that your phone is connected and recognised by your PC. If it does not change colour. Then, ensure you have correctly downloaded and installed Samsung USB drivers on your PC.
- Click on the AP or PDA tab. Select the CF-Auto-Root file that you downloaded and unzipped.
- Now, ODIN will check the MD5 file. The options ensure only F. Reset Time and Auto Reboot are checked in the screenshot.

- Click on Start. It will take just a few minutes to root, and your phone will reboot.
- Once it reboots, download the Root Checker app to confirm your phone is rooted once it reboots. Although, you will see the SuperSU file in your App Drawer. It is an indication that you have successfully rooted your phone.
Note: If ODIN fails to install the CF-Auto-Root file, download another version of ODIN from its official site and try again.
That’s all. In conclusion, if you have any questions or problems regarding the guide above, I would like to say. Let me know in the comments. I will get back to you and solve it for you if you don’t know how to perform the above guide at all. You can contact me; I will help you out.


