I have discussed the Galaxy S7 dm verity verification failed error solution in this guide. This solution can also be used for Samsung Galaxy S6, S9, Note 10, or any other Galaxy series phone.
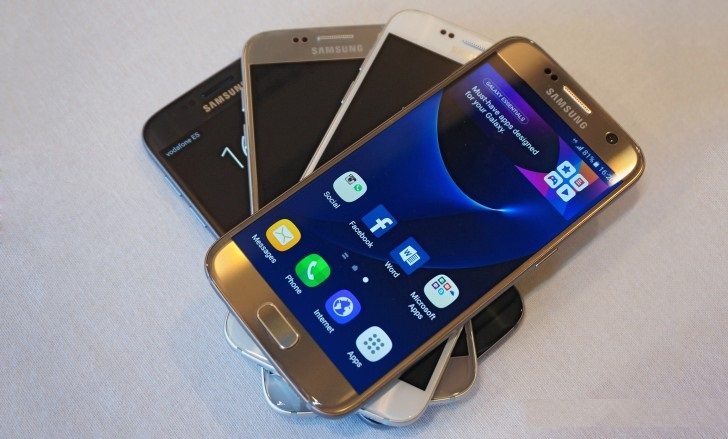
Samsung Galaxy S7 and S7 Edge are considered the finest phones of 2016, even after releasing so many phones with better specs and operating systems. People don’t want to change their S7 and move to S8. They are entirely content with it. Galaxy S7 is the best in almost everything. From looks to hardware and specs. Everything is optimal. It has excellent camera quality and excellent processing power. There are two versions of the Samsung Galaxy S7. The international model is equipped with Samsung’s own Exynos 8890 processor. Meanwhile, the USA model is equipped with Snapdragon 820. Both models have 4 GB of RAM.
Currently, Galaxy S7 and Galaxy S7 Edge are running on Android Nougat. But soon, they will get an Android Oreo update as Samsung has started a Galaxy Beta program where they are testing Android Oreo to release a bug-free version to their users. Likewise, users of Galaxy S8 can opt for a testing program.
Update: This guide lets you install Android Nougat on your Galaxy S7 or Galaxy S7 Edge.
Galaxy S7 dm-verity Verification Failed Fix.
I got this dm verity verification failed error after I tried to unroot my phone via SuperSU. I should have flashed the stock firmware instead. Well, I opted for the unroot entirely option that is present in the app. Unfortunately, it didn’t go well. My phone rebooted, and the next thing you see is that the phone is in the recovery menu, and at the bottom, in red fonts, it was written on S7 dm verity verification failed.
After spending some time on the internet, I realized it’s not an uncommon problem. Its solution is also simple. But you will most probably lose all your data. Losing data is still better than a dead phone. All you have to do is flash stock firmware via ODIN to get your phone back to normal. It is just a firmware/software error and can be fixed easily with the following method. We will be flashing stock ROM on Galaxy S7 via Odin. You can perform the same process using Smart Switch, which will be convenient if you haven’t used ODIN before.
How to flash stock firmware on Galaxy S7 DM verity verification error solution:
Now, let us move on to the guide. It’s easy. Suppose you have any confusion or hesitation at any step. Feel free to ask me in the comments.
Prerequisites:
- Download ODIN V3.12.3. (Click on download through the browser when the window opens).
- From here, Download the Stock Firmware for your S7 from SamMobile.
- Download Samsung Drivers for Windows. (The link to download the file is under the main heading). These drivers are to be installed on your PC. They are essential for your PC to recognize your device correctly.
- You will need a computer for this solution.
- It might delete all the data present on your phone. So, it’s better to back up using this guide.
Necessary!: Before Moving forward, please make sure KIES is not running on your PC or is not present in the system taskbar tray.
Ensure you have the correct ROM according to your phone model and country. If your phone is carrier-unlocked and not branded, you can use any carrier-free (unbranded) ROM from the link above. No; how to check if your phone is engraved. If the logo or any carrier name appears when you start your phone, it’s branded. If only the Samsung logo appears when you reboot your phone, it’s clean. The most important thing is that you make sure that you don’t flash unbranded ROM on a branded phone and vice versa.
Now let’s move on to the guide on how to flash stock ROM (Solution of Galaxy S7 dm-verity verification failed error):
- First of all, download and extract ODIN on your PC.
- Then, download and Install Samsung USB drivers for Windows on your PC.
- Download the correct ROM for your phone and extract it on your desktop or anywhere.
- Extract the .zip file to get .tar or .tar.md5 file.
- Now, turn off your Galaxy S7.
- Get your phone into Download Mode:
- Press the Power button, Volume Down and Home Buttons simultaneously.
- Keep on holding the buttons till you see a warning.
- Press the Volume Up button to continue.
- Now open ODIN on your laptop or PC.
- Connect your Galaxy S7 to your PC via a data cable. The ID: COM section on ODIN will turn blue, as in the screenshot below. It’s an indication that the PC has recognized your device.

- Click on AP on ODIN.
- After that, locate and select the stock firmware you downloaded for Galaxy S7.
- If the firmware you downloaded extracts more than one file, select the corresponding section according to file type: BL belongs to Bootloader, AP belongs to PDA, CP belongs to Phone(Modem), and CSC file in the CSC tab. ( Mostly, you just need to select the AP/PDA file like in the screenshot above)
- Ensure only Auto Reboot and F. Reset Time are checked in the options. DO NOT CHECK REPARTITION.
- Click on Start.
- Now, wait for 4-5 minutes. Please don’t disconnect your Galaxy S7 from your PC while ODIN is flashing because it can brick your phone. Wait, even if it takes time.
- Finally, when the flashing completes, your S7 phone will reboot.
Once your phone is rebooted, it will be running on factory settings. So it won’t get stuck on the Samsung logo, or it won’t give the s7 dm-verity verification failed error. Furthermore, your phone might take some time to boot up first.
Also, Check out the guide to unroot Galaxy S7 to get OTA updates.
Suppose you have any questions regarding the above guide on how to fix the Galaxy S7 dm verity verification error. Ask us in the comments if you have some other solution for this problem. Please share with us.


